
Sign installation
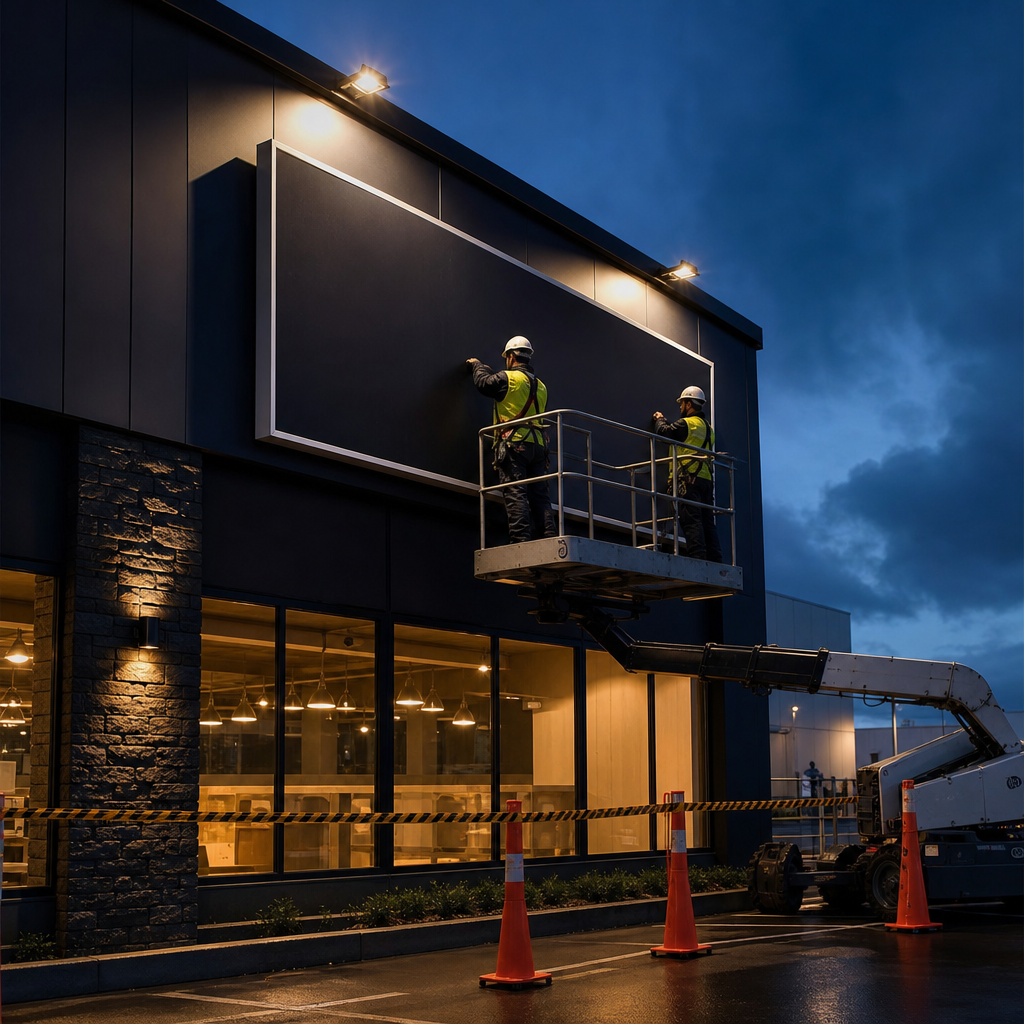
Sign installation is the process of safely positioning, fixing, connecting and commissioning signage at a nominated site. A reliable installation requires a site survey, suitable mounting design, approval checks, safe access, qualified trades and documented handover. The correct approach depends on the sign, structure, location and surrounding risks.
A sign can be well designed and accurately manufactured, yet still fail because installation was treated as an afterthought. Incorrect fixings, restricted access, hidden services and poor electrical coordination can all delay a project or shorten the sign's useful life.
This guide explains how professional sign installation works, what must be checked before work begins, and how to compare installers without reducing the decision to price alone.
Key takeaways
- A detailed site survey should confirm dimensions, structure, access, services and surrounding hazards.
- Planning approval, landlord consent and engineering requirements must be checked before installation.
- Shop signs, illuminated signs, window graphics, pylons and wayfinding systems require different installation methods.
- Installation quotes should define access equipment, electrical work, traffic management, disposal and making good.
- The cheapest quote is not necessarily the lowest-cost option if it excludes essential work.
- Handover should include operational testing, photographs, maintenance instructions and warranty information.
Ready to make your business impossible to miss?
Design, manufacture and installation, all under one roof in Warana.
Get a Free QuoteSummary table
| Installation type | Main installation concerns | Typical preparation |
|---|---|---|
| Fascia and shop signs | Substrate condition, concealed services, alignment and public access | Site measure, fixing review and access plan |
| Illuminated and neon-style signs | Electrical supply, isolation, ventilation and weather protection | Electrical coordination and commissioning plan |
| Window signs and graphics | Glass condition, surface preparation, joins and sightlines | Accurate artwork scaling and glass inspection |
| Freestanding and pylon signs | Footings, underground services, wind actions and vehicle movement | Service search, engineering review and excavation plan |
| Directional and wayfinding signs | Viewing position, accessibility, consistency and decision points | Location schedule and wayfinding audit |
| Corporate and school signage | Stakeholder approvals, occupied-site safety and brand consistency | Staged access plan and sign register |
What does professional sign installation include?
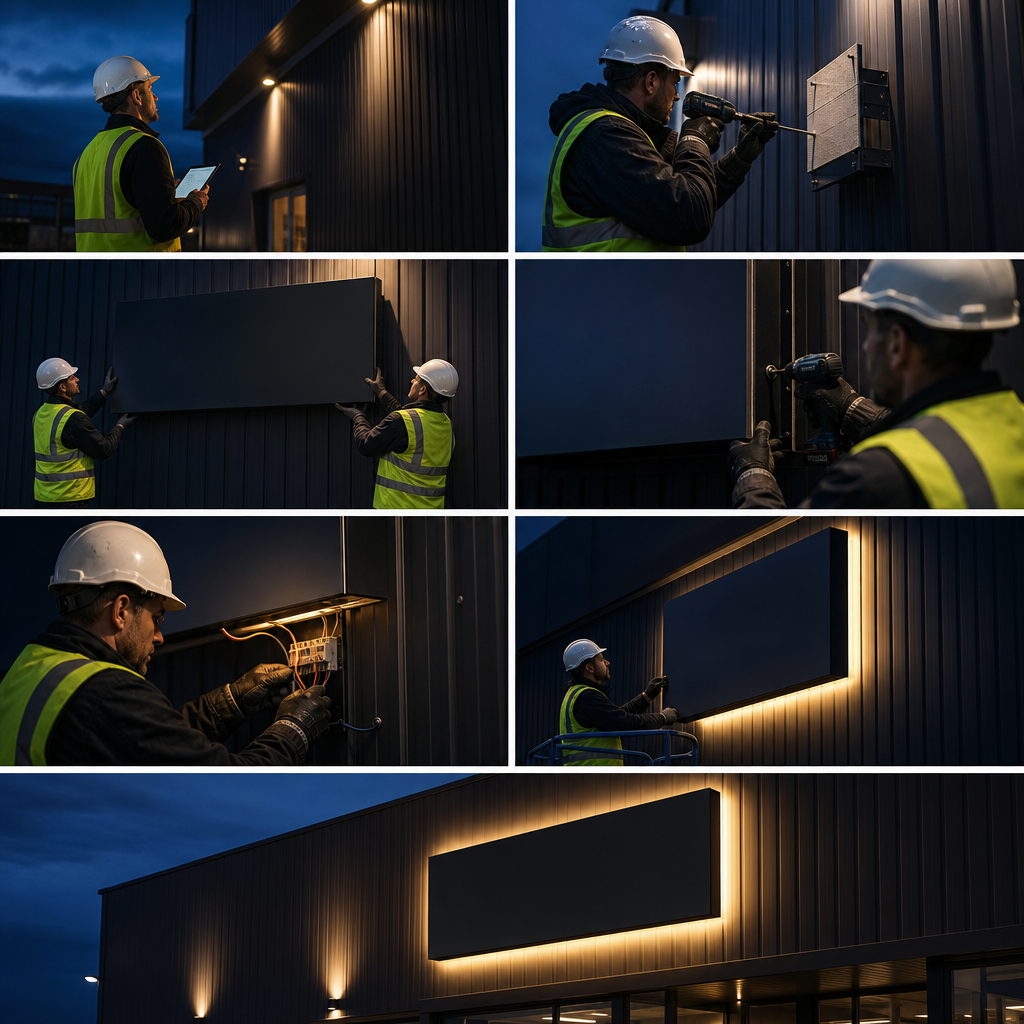
Professional sign installation covers more than attaching a finished sign to a wall. It includes verifying the site, selecting compatible fixings, managing access and hazards, coordinating specialist trades, aligning the sign, testing powered components and documenting completion. The installer must connect the design intent with actual site conditions.
A complete installation scope commonly includes:
- confirming final sign locations against approved artwork or a sign schedule
- checking wall, roof, ground or glazing conditions
- identifying likely electrical, plumbing and communication services
- arranging access equipment and exclusion zones
- unloading and protecting sign components
- setting out fixing points and sign alignment
- installing brackets, frames, footings or supporting structures
- coordinating electrical connection where required
- sealing relevant penetrations against moisture
- cleaning the sign and surrounding work area
- testing illumination, timers, sensors or digital components
- removing old signs where included in the agreed scope
- providing completion records and maintenance information
The exact process changes with the sign. Applying cut vinyl to internal glass is not comparable with lifting an illuminated cabinet onto a high facade. A sound proposal should explain the method rather than grouping every task under a vague installation allowance.
The boundary between sign installer, electrician, engineer, builder and access contractor should also be clear. A sign company may coordinate the full job, but regulated work still needs to be performed by appropriately qualified or licensed people.
What should be checked before installation begins?
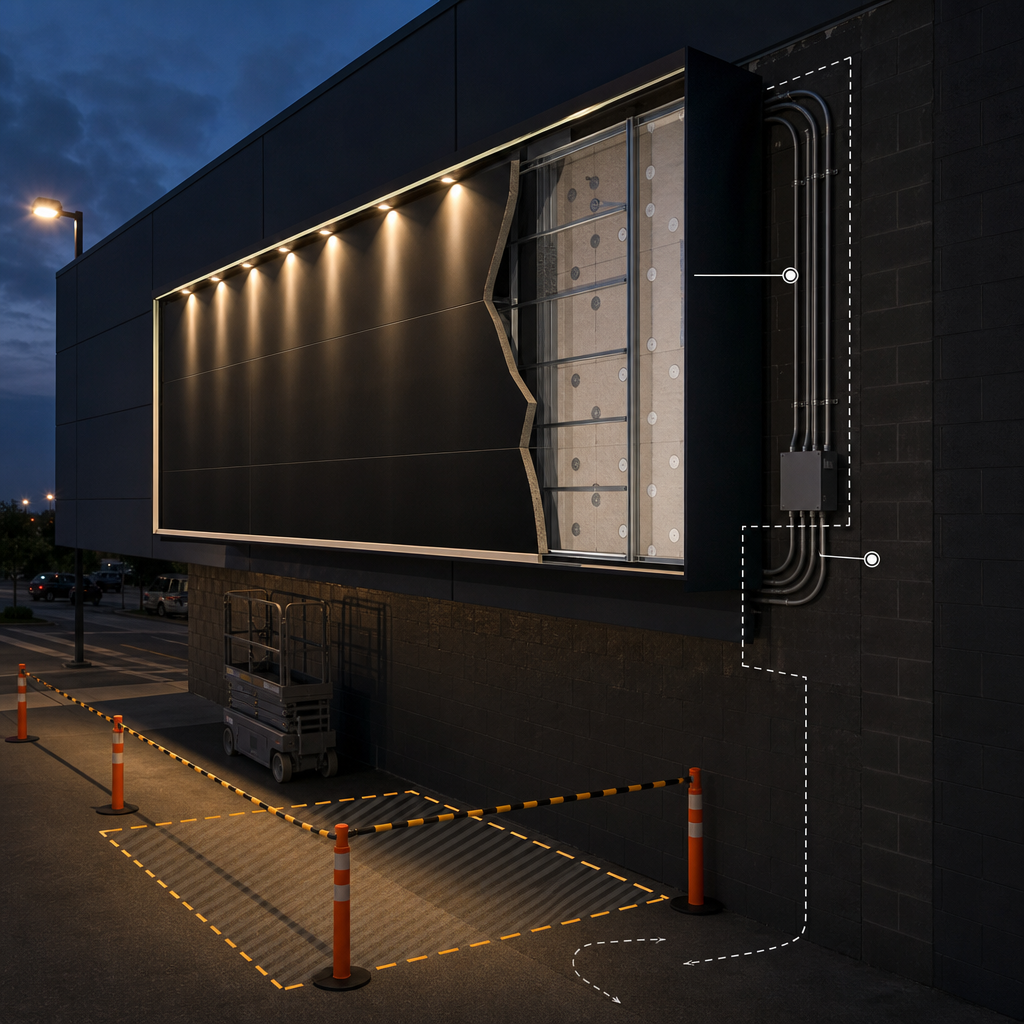
Before installation, confirm the sign dimensions, mounting surface, structural capacity, access route, nearby services, electrical supply, approval status and public safety controls. These checks should happen before manufacturing is finalised. Discovering a blocked access route or unsuitable substrate after delivery creates avoidable cost, redesign and programme pressure.
Site dimensions and mounting conditions
Construction drawings are useful, but they do not always reflect the finished building. Facade changes, added conduits, uneven masonry and altered tenancy boundaries can affect the available sign area.
The survey should record more than width and height. It should examine wall construction, cladding joints, cavities, obstructions and likely fixing zones. Installers also need to determine whether the proposed fixing can transfer loads into a suitable structure rather than relying on decorative cladding.
Photographs should show the wider elevation as well as close details. Context matters when planning lifting equipment, pedestrian controls and safe working positions.
Planning approval and property consent
Signage controls vary between Australian states, territories and local councils. Some signs may be exempt from development approval if they meet relevant criteria. Others require an application because of size, illumination, heritage controls, road exposure or location.
Council requirements are only part of the approval process. A tenant may also need written consent from the landlord, shopping centre manager, body corporate or facilities team. Approval of a graphic does not automatically authorise drilling, cabling or facade access.
Confirm approval responsibility in writing. Manufacturing a sign before that responsibility is resolved can leave the owner with a completed product that cannot legally or practically be installed.
Engineering and wind exposure
Large wall signs, roof signs, pylons and freestanding structures may require engineering input. The supporting structure, brackets, anchors and footings need to suit the sign and its exposure.
Wind actions are particularly important for signs with broad faces or elevated locations. AS/NZS 1170.2, published by Standards Australia and Standards New Zealand, provides requirements for determining wind actions on structures. An installer should not substitute a generic fixing detail where project-specific engineering is required.
Underground and concealed services
Excavation for freestanding signs can encounter electrical, telecommunications, gas, water or drainage infrastructure. Before You Dig Australia provides plans from participating asset owners, but those plans do not remove the need for onsite risk assessment and service locating where conditions require it.
Wall drilling also presents risks. Drawings and scanning can help identify concealed services, although each method has limitations. The installation method should allow for uncertainty instead of assuming every surface is clear.
Access and site operations
A site may be physically suitable for a sign but difficult to access safely. Installers should assess gates, loading areas, overhead obstructions, ground conditions, public movement and trading hours.
Schools, shopping centres, offices and healthcare sites often remain occupied during installation. Work areas may need to be isolated or scheduled around peak movement. The aim is not simply to reach the sign location. It is to do so without exposing workers, customers, students or building occupants to uncontrolled risk.
How are different types of signs installed?
The installation method depends on the sign's weight, materials, location, supporting surface and services. Wall signs may use rails, brackets or direct fixings. Window graphics rely on surface preparation. Freestanding signs require footings. Illuminated signs add electrical coordination. Each category needs its own method, equipment and quality checks.
Corporate and commercial signs
Corporate signage often spans reception areas, building facades, car parks and internal offices. Consistency matters because several signs may need to align across different surfaces and viewing distances.
Installation planning should include an approved location schedule. This reduces disputes over placement and helps facilities teams coordinate access. On multi-tenanted properties, installers should also confirm which surfaces belong to the tenant and which remain controlled by the building owner.
Shop signs
Shop sign installation commonly involves fascia panels, fabricated lettering, lightboxes, window graphics and projecting signs. The work may occur around customers, neighbouring tenants and delivery traffic.
An installer should confirm the fascia construction rather than assuming it can carry the sign. Removable panels, composite cladding and old fixing holes can complicate the job. If an existing sign is being replaced, removal should be assessed separately because hidden wiring, adhesive and surface damage may only become visible after dismantling.
School signs
School sign projects require careful access planning. Vehicle and pedestrian movement changes during arrival, departure and events. Installers may also need site induction, identification and coordination with school administration.
External school signs can include entry statements, electronic message signs, building identification and directional systems. Placement should support visitors who do not know the campus, not merely reflect where mounting surfaces are convenient.
Illuminated and neon-style signs
Illuminated sign installation combines mechanical fixing with electrical coordination. The supply location, switching arrangement, cable path, access for servicing and weather exposure should be reviewed before fabrication.
Electrical work must comply with the laws applying in the relevant state or territory. AS/NZS 3000, published by Standards Australia and Standards New Zealand, sets requirements for electrical installations. A signage contractor should clearly state whether electrical connection and isolation are included or must be arranged separately.
Modern neon-style signs commonly use flexible LED products rather than traditional glass neon. The visual result may appear simple, but power supplies, heat management, cable concealment and service access still require planning.
Window signs and graphics
Window graphics depend on clean, suitable glass and accurate setting out. Adhesive performance can be affected by contamination, incompatible coatings or degraded glazing films.
Large graphics may require joins, edge clearances or panel sequencing. Sightlines should be checked from inside and outside, particularly where mullions interrupt artwork. Installers should also identify whether graphics could affect required visibility through doors or glazing.
Freestanding and pylon signs
Freestanding signs transfer load into posts, base plates or concrete footings. Installation can involve excavation, reinforcement, concrete work, lifting and temporary support while materials cure or connections are completed.
Underground services, drainage, soil conditions and vehicle paths all matter. A location that looks clear at ground level may conflict with services below or reduce visibility for drivers leaving a property.
Directional and wayfinding signs
Directional signage should be installed where people make decisions, with enough time to see, interpret and act on the information. It should not be placed solely where there is an available wall or post.
A useful installation check involves walking the route as a first-time visitor. Look for visual obstructions, competing signs, inconsistent terminology and missing confirmation signs. Accessible signage obligations may also apply. The National Construction Code, maintained by the Australian Building Codes Board, contains requirements concerning accessible signage in relevant buildings.
What determines sign installation cost?
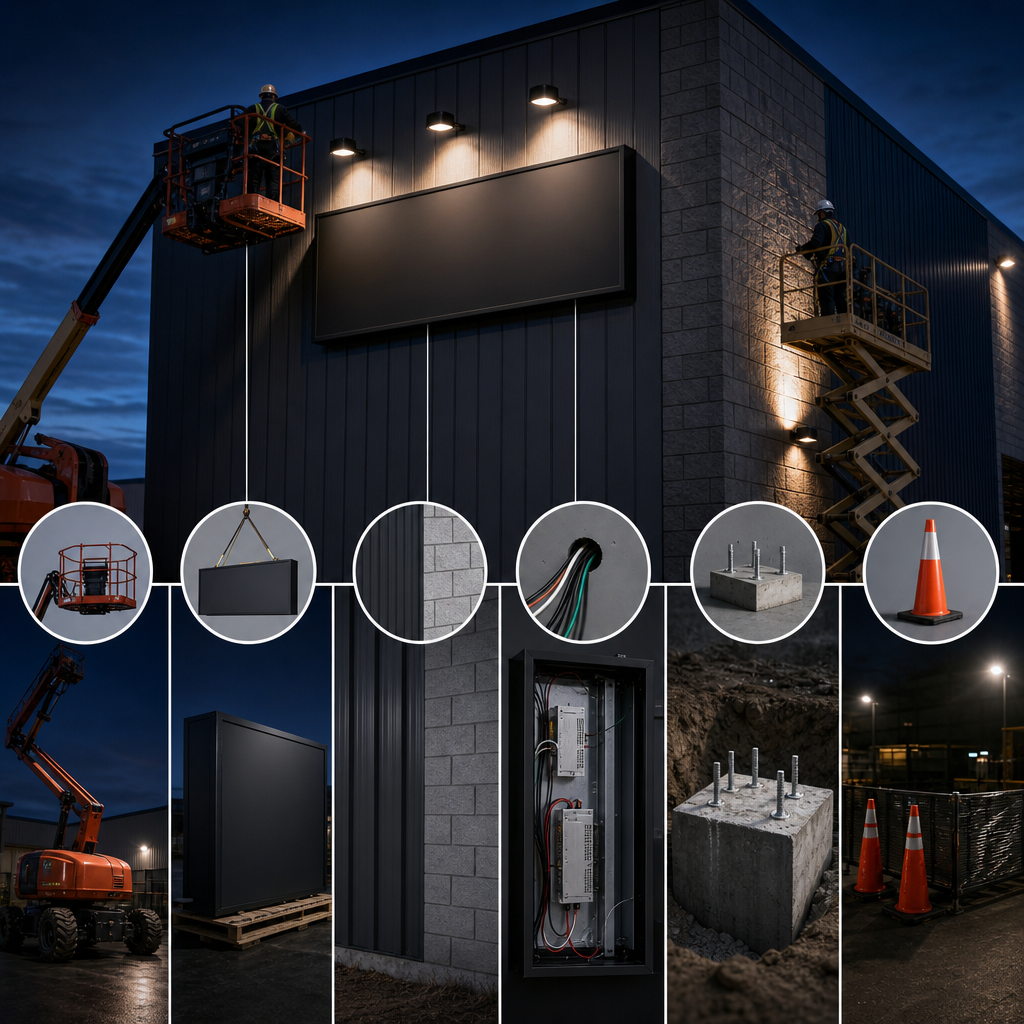
Sign installation cost is determined by labour, access, equipment, sign weight, fixing complexity, site controls, travel, electrical work, engineering and reinstatement. A useful quote separates these items and defines exclusions. Comparing only the final price can be misleading when installers have allowed for different access methods or responsibilities.
Important cost drivers include:
- Height and access: Elevated work may require a scissor lift, boom lift, scaffold or specialised lifting plan.
- Sign size and weight: Large fabricated signs can require additional handling equipment and coordinated lifting.
- Mounting surface: Concrete, masonry, steel framing, cladding and glass require different fixings and techniques.
- Site occupancy: Public exclusion zones, after-hours access and building inductions can add planning and labour.
- Electrical requirements: Supply upgrades, isolation, cable routes and final connection can affect the scope.
- Engineering: Structural design, certification or inspection may be required for some signs.
- Ground works: Footings can involve excavation, spoil disposal, concrete and service locating.
- Removal and disposal: Existing signs may contain wiring, heavy frames or adhesives that require controlled removal.
- Making good: Old fixing holes, paint differences and damaged cladding may need separate repair work.
- Regional access: Travel, accommodation and equipment availability can affect projects outside metropolitan areas.
Ask each installer to quote against the same written scope. The document should identify who supplies access equipment, who provides power isolation, whether permits are included, and what happens to removed signs.
Allowances should be labelled as allowances. If the substrate cannot be confirmed until an old sign is removed, the quote should explain that uncertainty and the process for approving additional work.
What happens on installation day?
On installation day, the team should confirm site conditions, complete required safety checks, isolate the work area and verify sign locations before drilling or lifting begins. Installation then follows the approved method. The sign is aligned, secured, connected where applicable, tested, cleaned and formally handed over.
A practical sequence usually starts with a site contact and access confirmation. The crew checks whether conditions have changed since the survey. Parked vehicles, temporary structures, weather or unplanned building work can affect the method.
Before permanent fixing, sign positions should be set out and checked against the approved design. This is especially important for individual letters, multi-panel graphics and directional sign families. Small alignment errors become obvious once viewed across a facade.
Powered signs should be tested for consistent illumination and correct switching. Digital or programmable signs may also need content, connectivity and brightness settings checked. Installation is not complete merely because the hardware is attached.
The work area should be cleared of packaging, swarf, protective film and redundant fixings. Any damage or pre-existing defects should be documented rather than left open to disagreement.
Handover records can include photographs, electrical documentation where applicable, engineering records, operating instructions and warranty details. The owner should know how to isolate, clean and maintain the sign without damaging its finish or components.
How should you choose a sign installer?
Choose a sign installer by assessing relevant project experience, survey quality, proposed method, safety planning, trade coordination, insurance and written scope. Reviews can indicate service patterns, but they do not prove technical suitability. The strongest installer is the one who identifies site risks early and explains responsibility clearly.
Compare scope before price
Quotes are only comparable when they cover the same work. One installer may include access equipment, disposal and electrical coordination. Another may exclude them while presenting a lower total.
Look for clear answers to these questions:
- Has the installer inspected the site or relied only on photographs?
- What mounting method is proposed?
- Is access equipment included?
- Who checks approvals and landlord consent?
- Who arranges electrical isolation and connection?
- Are engineering and footings included where relevant?
- Does the price include removal, disposal and making good?
- What completion documents will be provided?
- How are latent site conditions handled?
Check experience by sign type
An installer experienced with window graphics may not be equipped for a freestanding pylon. Likewise, a general handyman may be suitable for mounting a simple internal panel but not for engineered, illuminated or elevated signage.
Ask for examples that match the proposed construction and site conditions. Relevance matters more than a broad gallery of unrelated work.
Confirm responsibility for regulated work
The installation proposal should name the parties responsible for electrical work, engineering, traffic control or other specialist tasks. Statements such as "by others" should identify exactly who those others are and when their work must occur.
Unclear responsibility creates gaps. Those gaps often appear late, when equipment and installers are already booked.
The cheapest quote often prices the wrong scope
Treating installation as a commodity is a costly mistake. The real product is not labour at the wall. It is controlled delivery of the intended sign on a real site. A low quote often reflects missing information, limited investigation or exclusions that become the customer's problem later.
This is the most useful way to assess installation: separate visible work from hidden dependencies.
The visible work includes lifting, drilling, fixing and cleaning. The hidden dependencies include approvals, structural suitability, service locations, electrical supply, access, occupancy controls and repair of existing surfaces. Most installation disputes begin in the hidden layer.
A better procurement approach starts with an installation basis document. It does not need to be complicated. It should record the surveyed dimensions, assumed substrate, sign weight where relevant, mounting concept, access method, service requirements, working restrictions and exclusions.
That document creates a common basis for design, manufacturing and quoting. It also exposes unresolved assumptions before they become site variations.
Another common mistake is separating manufacturing and installation without assigning responsibility for fit. If one supplier manufactures from drawings and another measures the site, establish who accepts dimensional risk. Otherwise, each party can blame the other when brackets, cable exits or panel sizes do not align.
Sunquest Signs' practical position is straightforward: installation planning should begin during design, not after manufacturing. Fixings, service access, cable routes and lifting points affect how the sign should be built. Designing those details late limits the available options and usually increases site work.
How can signs be maintained after installation?
Post-installation maintenance should preserve appearance, electrical performance and fixing integrity without damaging finishes. Owners should follow material-specific cleaning guidance, arrange safe access and investigate movement, water entry, corrosion or lighting faults promptly. Maintenance planning is especially important for elevated signs because access can cost more than the repair itself.
Cleaning methods should suit the face material, coatings, vinyl and illumination components. Abrasive tools or aggressive chemicals can damage finishes and printed graphics. Pressure cleaning may also force water into joints or electrical areas if used without regard to the sign's construction.
Inspect external signs after severe weather or building works nearby. Warning signs can include movement, loose panels, unusual vibration, cracked sealant, corrosion staining or inconsistent lighting. Do not attempt to tighten or open an elevated or powered sign without suitable controls and qualifications.
Access for future servicing should be considered during design. Power supplies, drivers, lamps and control equipment should not be permanently trapped behind architectural finishes. A clean facade is desirable, but concealment should not make routine maintenance destructive.
Keep a sign register for sites with multiple assets. Record the sign location, type, installation details, electrical information and maintenance history. This helps facilities teams plan work and prevents each repair from starting with a fresh investigation.
Plan your sign installation with Sunquest Signs
A successful sign installation begins with accurate site information and a clearly assigned scope. Sunquest Signs can help coordinate signage from design and manufacturing through to installation and handover. Contact the team through the Sunquest Signs contact page to discuss the site, sign type, access conditions and project requirements.
Provide available drawings, photographs, approval information and target timing when making an enquiry. Mention whether the building is occupied, whether an existing sign must be removed, and whether power is already available.
Early detail leads to a more useful discussion. It also allows installation constraints to shape the sign before materials are ordered and components are manufactured.
References
These references identify recognised Australian requirements and planning resources relevant to sign installation. They do not replace project-specific advice, local council rules, engineering or the legal obligations applying in each jurisdiction. Always confirm the current edition and its application before relying on a standard.
- Australian Building Codes Board, National Construction Code
- Before You Dig Australia
- Safe Work Australia, Managing the risk of falls at workplaces
- Standards Australia and Standards New Zealand, AS/NZS 1170.2, Structural design actions: Wind actions
- Standards Australia and Standards New Zealand, AS/NZS 3000, Electrical installations
- Standards Australia, AS 1428.1, Design for access and mobility: General requirements for access, new building work
Talk to a signage expert
Tell us about your project and we'll come back with options and honest advice.
Get in TouchFrequently Asked Questions
Do I need council approval to install a sign?
You may need council approval depending on the sign's size, location, illumination and local planning controls. Check the relevant council rules and obtain property owner consent before manufacturing.
Can a sign be installed on any wall?
No. The wall must provide a suitable fixing point and support the imposed loads. The installer should identify the substrate, supporting structure, concealed services and waterproofing implications before selecting fixings.
Who connects an illuminated sign to power?
Electrical work must be completed by a person authorised under the laws applying in the relevant Australian state or territory. Confirm whether connection and isolation are included in the installation scope.
Can installation happen outside business hours?
Yes, subject to site access, council restrictions, building rules and safe working conditions. Security, lighting, noise controls, equipment access and responsible site contacts must still be organised.
How long does sign installation take?
The duration depends on the sign type, quantity, access, mounting conditions, electrical work and site controls. Request a project-specific programme after the site survey and installation method are confirmed.
Should old signs be removed before new signs are manufactured?
Not always. Early removal can expose hidden conditions, while coordinated removal and replacement can reduce downtime. The plan should address temporary signage, isolation, repairs and disposal.
Signs that set you apart
Over 40 years on the Sunshine Coast. Design, compliance, manufacture and installation handled end to end.
Get a Free Quote